
These tutorials contain a set of tips & tricks, for users who want to upgrade their knowledge to the next level by leveraging Undet’s advanced features.
From Novice to Advanced User


These tutorials contain a set of tips & tricks, for users who want to upgrade their knowledge to the next level by leveraging Undet’s advanced features.
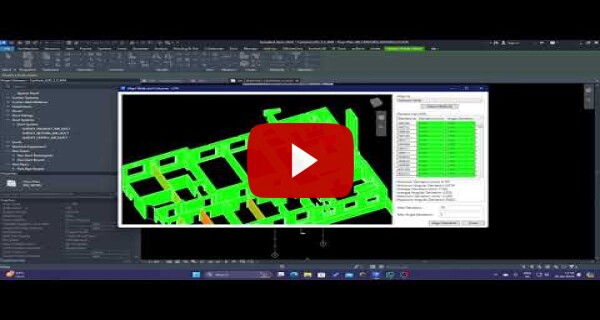
The video introduces the “Align Walls and Columns” tool in Undet for Revit, designed to resolve alignment issues arising from previous tools like Fit Wall and Fit Column. Users are guided through selecting walls and columns and accessing the tool from the Undet ribbon. Options include alignment based on grids, auto axes project nodes, or selected walls. Users set maximum deviations for linear and angular alignment. The tool highlights alignment issues and prompts users to address them, such as unjoined elements. Various alignment methods are demonstrated, including auto axis, project north, selected walls, and grids.
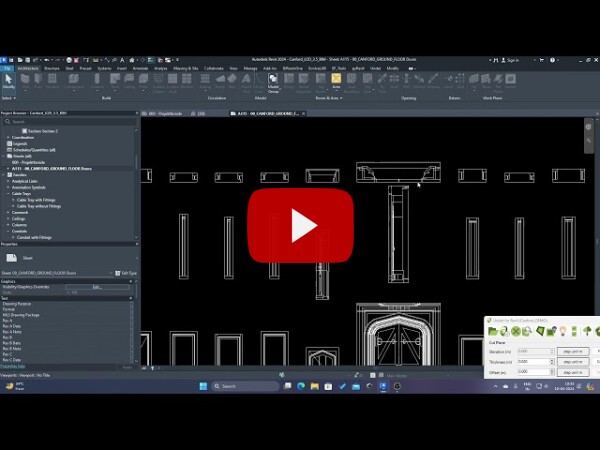
The video demonstrates the usage of the “Create Views tool” in Undet for Revit, designed to efficiently generate front, top, and side views for each element category on every level of a project. This tool facilitates quick analysis of element representation, alignment, and comparison against raster images.
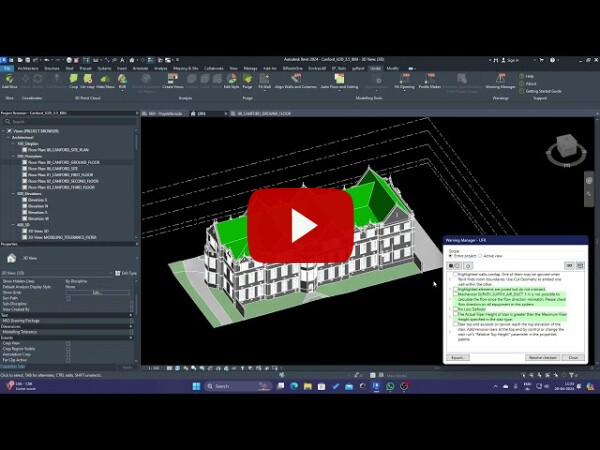
The video introduces the “Warning Manager” tool in Undet for Revit, designed to efficiently handle warnings encountered while working on BIM projects. It addresses the common issue of dealing with warnings in Autodesk products, which typically involves a time-consuming process of exporting HTML, identifying element IDs, and isolating elements.

The video demonstrates the use of a new tool called “Instance Parameter to Type Parameter” in Undet for Revit. This tool is particularly useful for quickly working with doors and windows when detailed information is not required. It allows users to create doors or window families with instance parameters for height and width, making it easy to adjust sizes using grips.
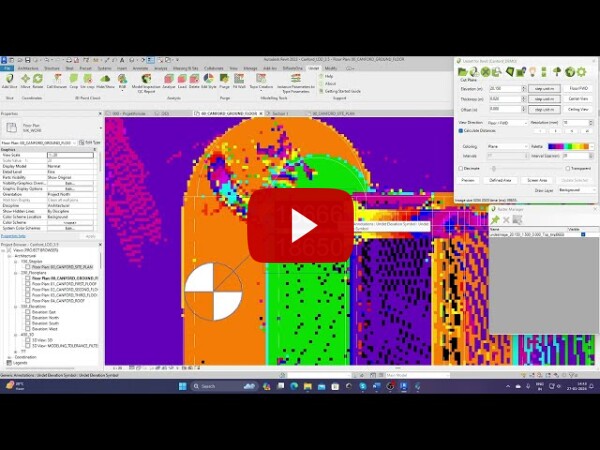
The video introduces a new tool called “Spot Elevation” in Undet for Revit. This tool allows users to obtain spot elevation information for any pixel on a raster image. For example, the presenter demonstrates how to quickly determine the height of different elements, such as steps or floors, and compare elevations.
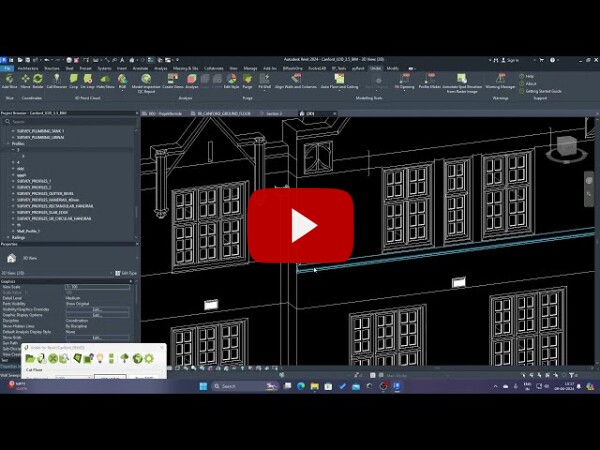
The video introduces the “Profile Maker” tool in Undet for Revit, designed to streamline the process of creating profiles from point clouds for various architectural elements like railings, stringers, wall sweeps, and reveals. Users are guided through tracing the desired profile using detail lines in Revit.
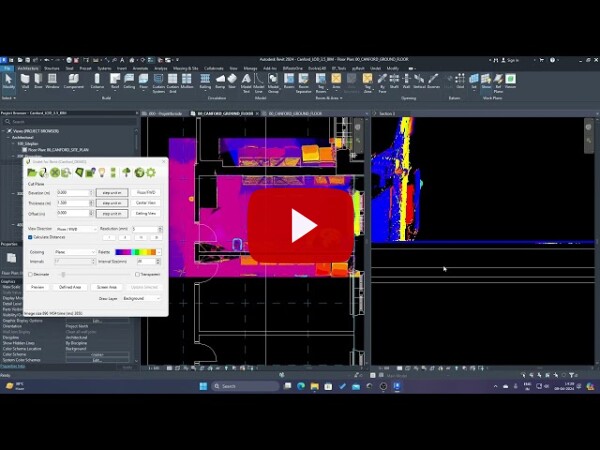
The video introduces the “Snap Floor” tool in Undet for Revit, designed to quickly adjust the height of floors based on the point cloud section. Users are guided through the process of selecting a floor and then clicking on point points to set the desired height. The tool automatically adjusts the floor height accordingly.
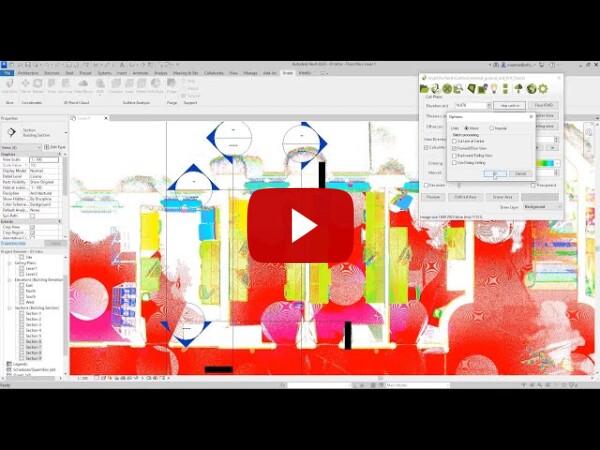
In the new update, you can create multiple raster images in multiple views in one click. It helps reduce the time to manually create images one by one in all the views.
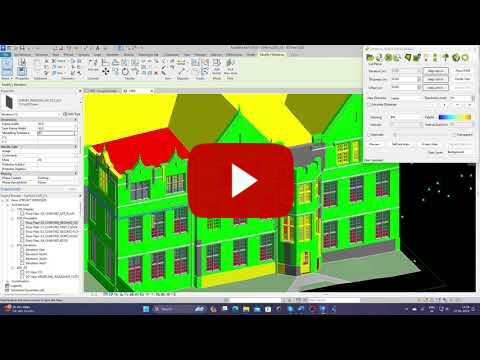
The video introduces a new feature, “Modeling Tolerance,” under the analysis tool in Undet for Revit. The tool helps users determine tolerance values for each element in the model, providing a convenient way to assess reliability. Users can set parameters such as step, weight, and choose to include surface analysis.
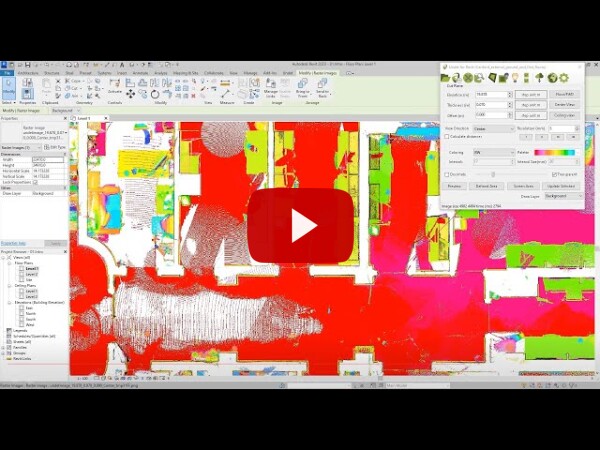
This video explains the use of Decimate and Transparent tools in Slice manager of Undet for Revit also their merit and demerits.
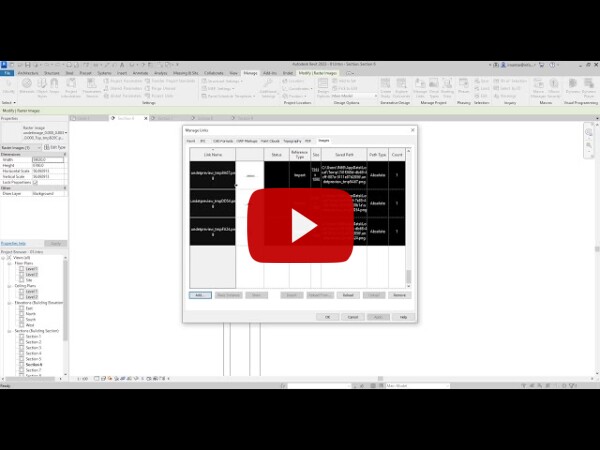
Here, new tools ‘Delete all images’ and ‘Delete images in Family’ are introduced, which are released in the latest update of Undet for Revit, which solves the deleting process of raster images in Revit 2021 and older versions.
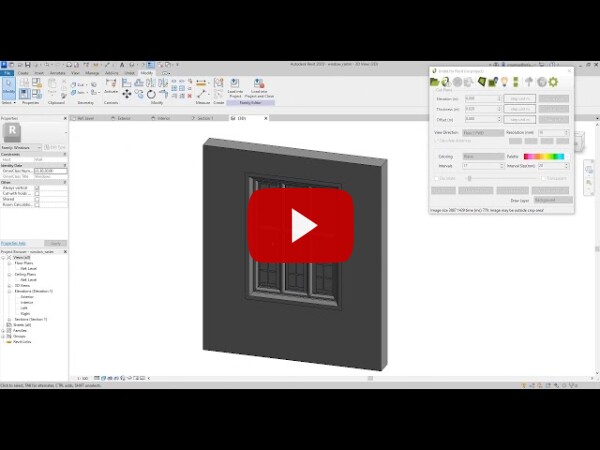
This is a tutorial video to explain the workflow of Creating a Windows family using Raster images created by Undet for Revit.
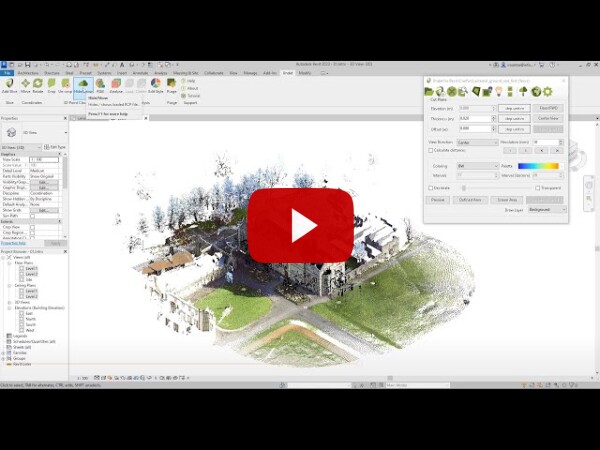
This video tutorial explains how to load point cloud in Revit using Undet for Revit and change its sisual setting. In addition, here you can find info about how to crop point cloud inside Revit using the ‘CROP’ and ‘UNCROP’ tools in Undet for Revit.

With Undet for Revit plugin, you can easily convert your point cloud into dynamic images and export them to the DWG file. Undet dynamic views are lighter than point clouds and have an even better view! Having this information, you can use this image as the background for floor plan vectorization or making decisions when it is necessary to have measurements of the existing situation!